

Hi all!
Well, I had a chance to play a game of X-Wing recently, and included in the game was one of the new Rebel Aces, the A-Wing pilot Jake Farrell!
So... I ran the Rebels. My opponent traditionally does love himself some low PS TIE swarms, so I went with the following:

Jake Farrell in an A-Wing with a Stealth Device, Push the Limit, and a Chardaan refit.
A Green Squadron A-Wing with a Stealth Device, Push the Limit, and a Chardaan refit.
two Blue Squadron B-Wings with Advanced Sensors
So! I was ready!
And then my opponent pulled out...

Darth Vader in his TIE Advanced
Soontir Fel (flying an Imperial Guard TIE Interceptor in this game and who, in my mind, should be played by Benedict Cumberbatch in any movie...)
Tetran Cowall in a TIE Interceptor
An Alpha Squadron pilot in a TIE Interceptor
Whoops. That isn't a swarm.
So! Let's get it on!

The two sides roared in at each other. My opponent slowed down a little, I think anticipating a show-down on the flanks between the A-Wings and two of his interceptors, but I darted past him, trying to get in and shoot down his Alpha Interceptor (center) by focusing all firepower on it. I figured the B-Wings could absorb some punishment, no?

Here you can see my Green Squadron pilot and Soontir Fel passing each other, clearly deciding they had more pressing targets at the moment...

Vader and his Alpha escort prepare to go head-to-head with the B-Wings... this might not work out well for the Imperials! Lasers begin to hammer at both sides, shields flaring out of existence and solar panels being hammered and burned!

On the far flank Cowall and Ferrell both come darting back to lend their support to the mess at the center, their lasers lancing through the combat, Cowall scoring some hits.

The firing gets hotter as the two sides meet at close range...

... although Fel clips an asteroid and takes some damage!

The B-Wings open fire with their considerable weaponry...

... and blow the Alpha Squadron Interceptor away! However, they continue to take a beating themselves, losing most of their shields as they get hammered by Vader in front and the two Interceptors coming in from the flank!

Now Vader looks in front of him...

... and sees the entire Rebel fleet trying to line him up! I purposefully crashed my second B-Wing into my first, and then my A-Wing into the rear B-Wing, hoping that Vader would pick SOME sort of straight green move to shed his stress, which he then couldn't complete, leaving him in front of the first B-Wing and in range 1 of the REST of my fleet and without any actions!
But no! My opponent picked a 3 left bank and JUST squeezed out of the firing arc of my ENTIRE fleet! I knew this was a HUGE chance, but I figured it would have been worth it to blow Vader out of the sky... but it was not to be!:(

So Vader and Fel slip past my trap and prepare to return to the fight!

The two B-Wings make a hard turn to hit Fel... but Tetran Cowall, using his variable K-turn (which was REALLY useful the ENTIRE game) drops right in behind them.

'I've got you now!' he thinks... but he is momentarily unable to fire as a Pilot Critical that he just took prevents him from firing for a turn...

"Someone get that Interceptor off of me before he gets his firing computers back online!" screams the Blue Squadron pilot, his ship already stripped of its shields.

In an incredible display of accuracy, just as Cowall lines up his target, the Green Squadron A-Wing blows him away, getting two hits and Cowall managing NO evades! That's two Imperials down... but the two most dangerous are still in the air!

And sure enough, the Empire strikes, as Fel blasts huge holes in the already-damaged B-Wing and then Darth Vader himself takes the rebel down!
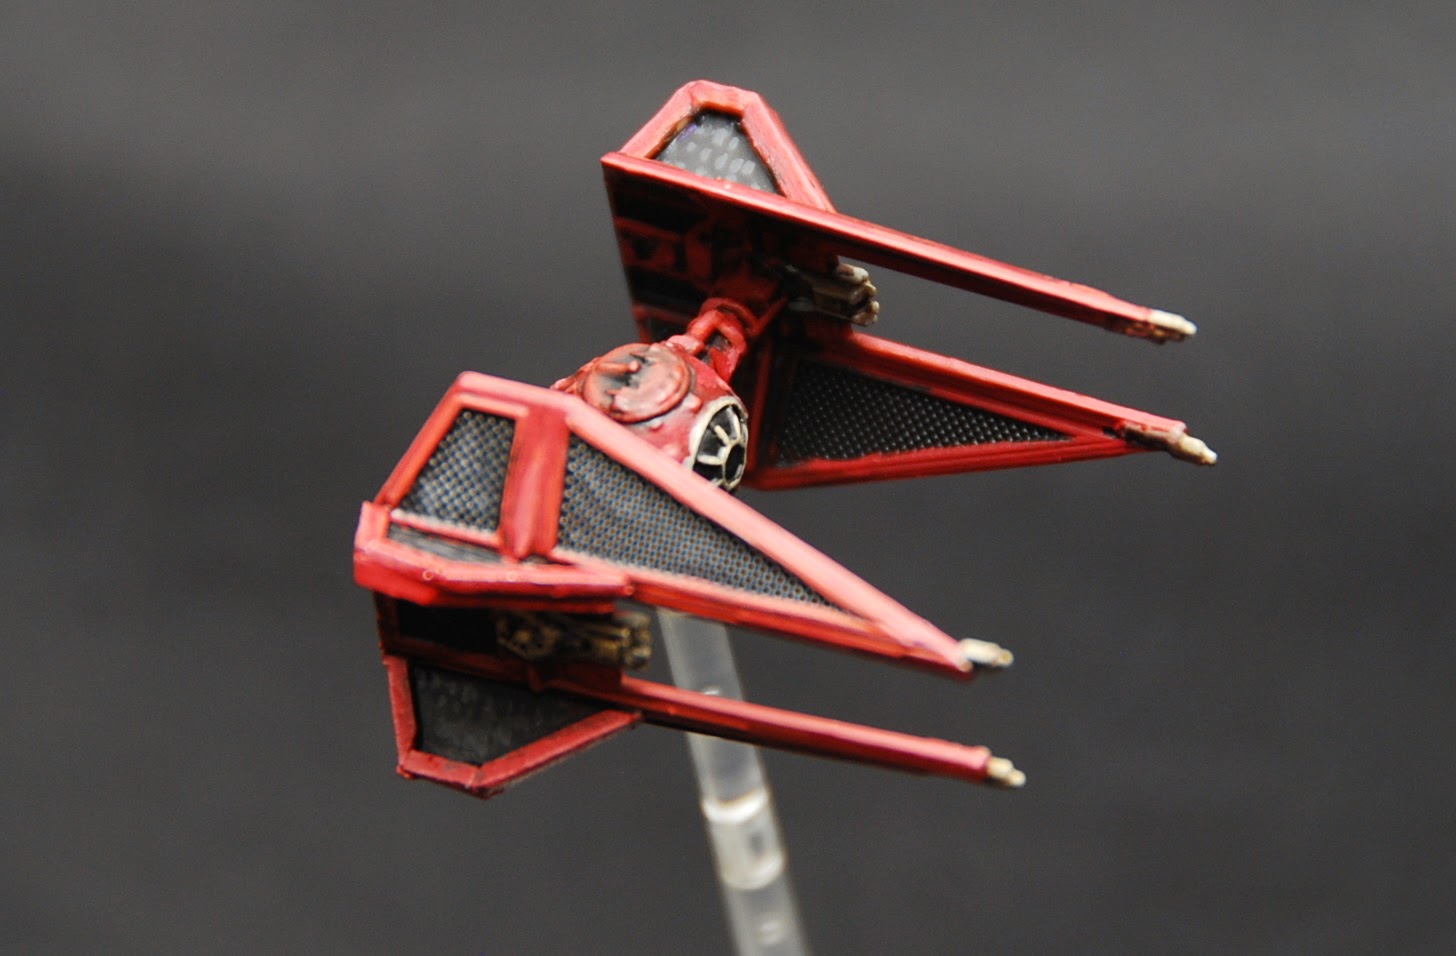
The Baron pulls a looping K-Turn to drop in behind the remaining rebel B-Wing, who is desperately trying to get his guns on target...

... but to no avail, as Fel blasts the second B-Wing to pieces.

Meanwhile the two A-Wings try to get a little distance between them and the remaining Imperials, but Vader, using a clever barrel roll, manages to get himself JUST into range two on the furthest fleeing A-Wing, whose shields are gone and ship is damaged...

"He is locked on me!"

... and, despite only having two dice to attack with, Vader kills the brave rebel pilot, leaving only Jake Farrell to face two of the most dangerous pilots to ever fly a TIE!

Farrell survives for several turns, using his ability to boost and barrel roll to stay out of the Imperial firing arcs...

But despite one particularly impressive turn in which he almost makes it out of harm's way, Fel slips his way onto the A-Wing's flank...

And hammers him, stripping away shields...

... and leaving the A-Wing vulnerable a turn or two later...

... and Jake is shot down, ending the Rebel hopes for a victory!

The Baron Soontir Fel and Darth Vader survive, returning to a nearby Star Destroyer to refit and... well, does Darth Vader relax?
Overall a good game! There was some really good flying, and definitely a few tricky moments... and the entire game was INCREDIBLY cinematic, with lots of moments that just seemed MADE for a Star Wars movie (Cowall being killed JUST as he was on the tail of a B-Wing, Vader chasing a boosting/barrel rolling Farrell through asteroids, and so on...) I was nervous when I saw the Imperial list, as it was a LOT of high pilot skill elites with good mobility, and sure enough I did have a few instances where they either shot me before I could return fire or slipped out of my firing arcs. I came closer than it might seem in the end, but close only counts on horseshoes and hand grenades!


